
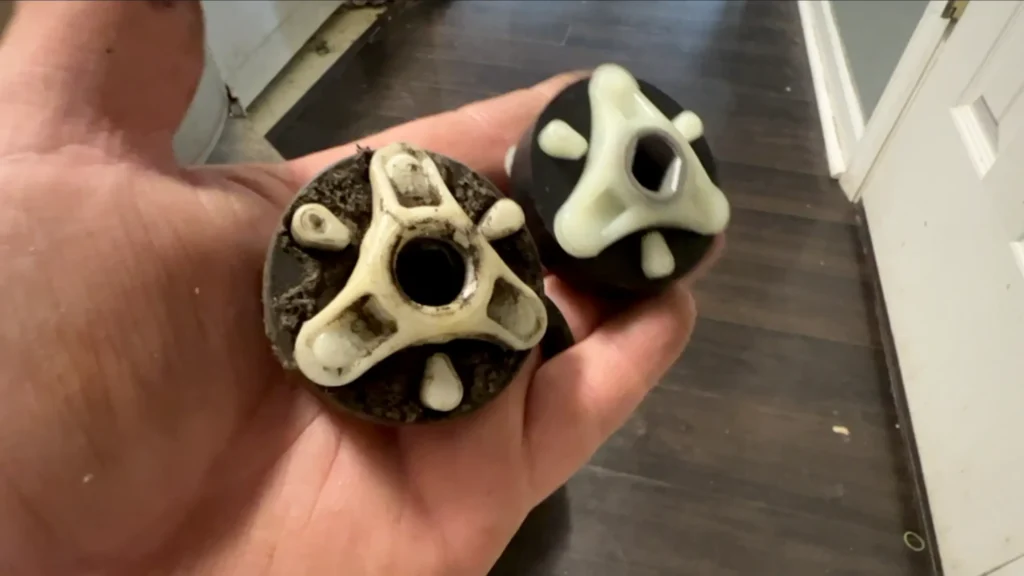
Has your Whirlpool or Kenmore washer stopped spinning or agitating, leaving your clothes soaking wet or unwashed? Don’t worry—you might not need a new washer just yet. The problem could be a small, inexpensive part called the motor coupling. Over time, the motor coupling can wear out due to normal use or break if the washer is overloaded. It’s designed to fail under excessive stress to protect more expensive components like the motor and transmission. In this guide, we’ll show you how to replace the 285753A motor coupling and get your washer back in working order.
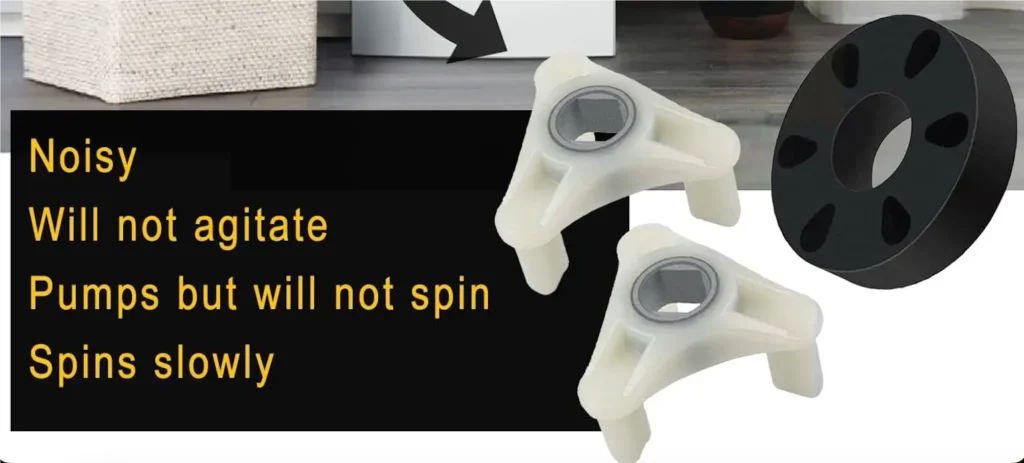
The motor coupling is a crucial component in direct-drive washing machines, connecting the motor to the transmission. It allows the motor to turn the transmission, which in turn spins the drum. If the coupling is broken or worn out, the washer won’t be able to agitate or spin properly, even though it might still fill with water and drain. Common signs of a failing motor coupling include:
- The washer not spinning or agitating
- Loud noises, such as grinding or rattling, during operation
- The drum not moving while the motor is running
- A burning smell from the motor area
Fortunately, replacing the motor coupling is a straightforward repair that you can do yourself with basic tools and about 30-60 minutes of your time. This guide will walk you through the process step by step, helping you save hundreds of dollars on professional repairs or a new washer.
Tools and Preparation
Before you begin, gather the following tools:
- Flathead screwdriver
- Phillips screwdriver
- 1/4-inch nut driver or socket
- Hammer
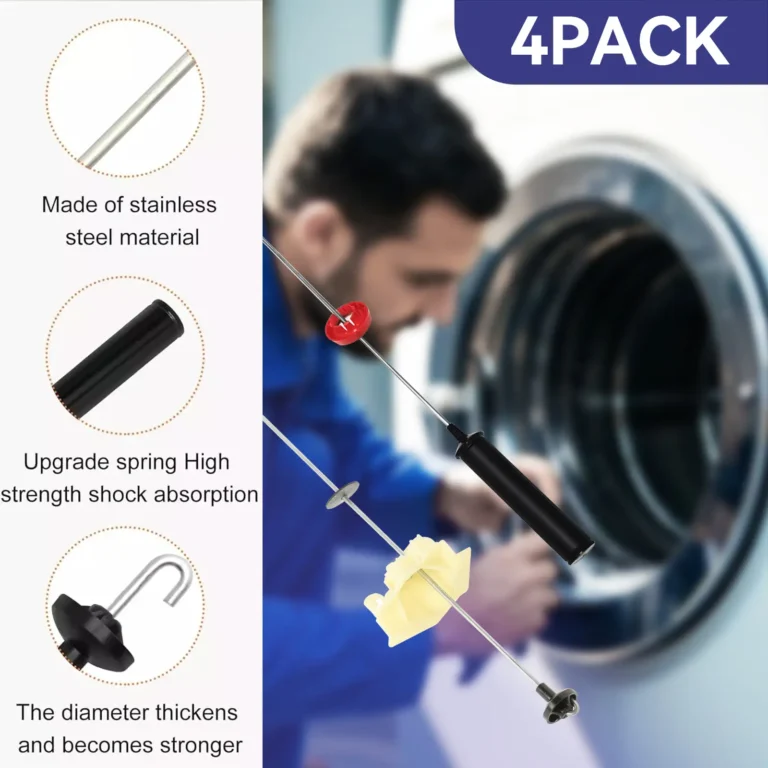
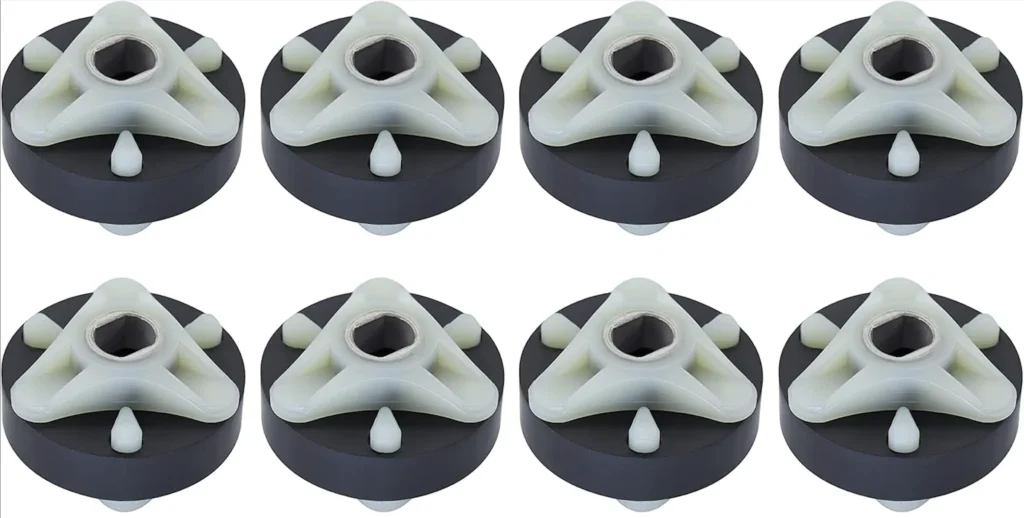
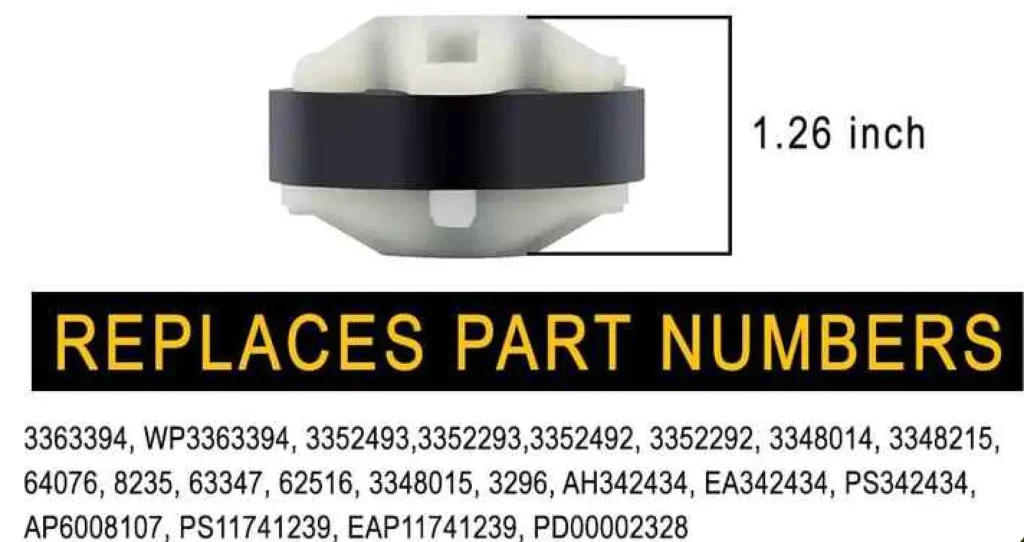
- Replacement motor coupling (part number 285753A)
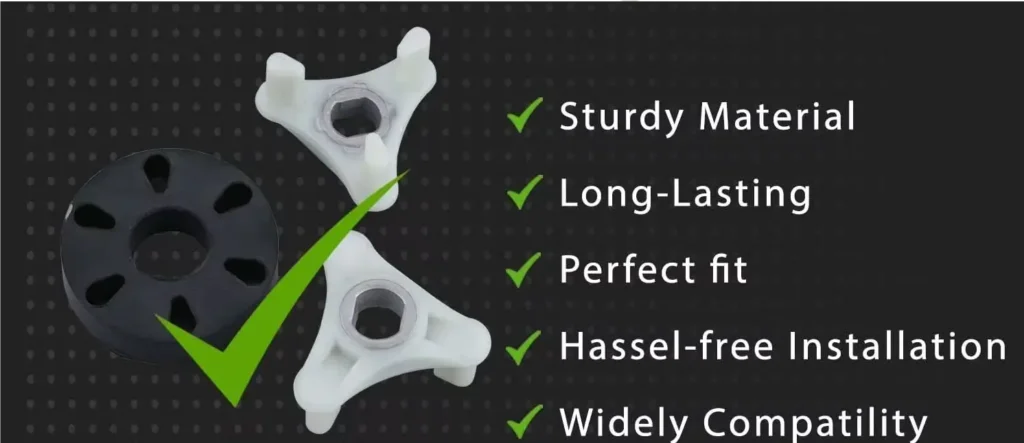
Note: The 285753A is an updated version of the motor coupling, featuring metal sleeves for added strength and durability. This makes it a more reliable choice than older, all-plastic versions.
For safety:
- Unplug the washer from the power outlet.
- Turn off the water supply to the washer.
- Have some old towels or a bucket handy in case there’s residual water in the machine.
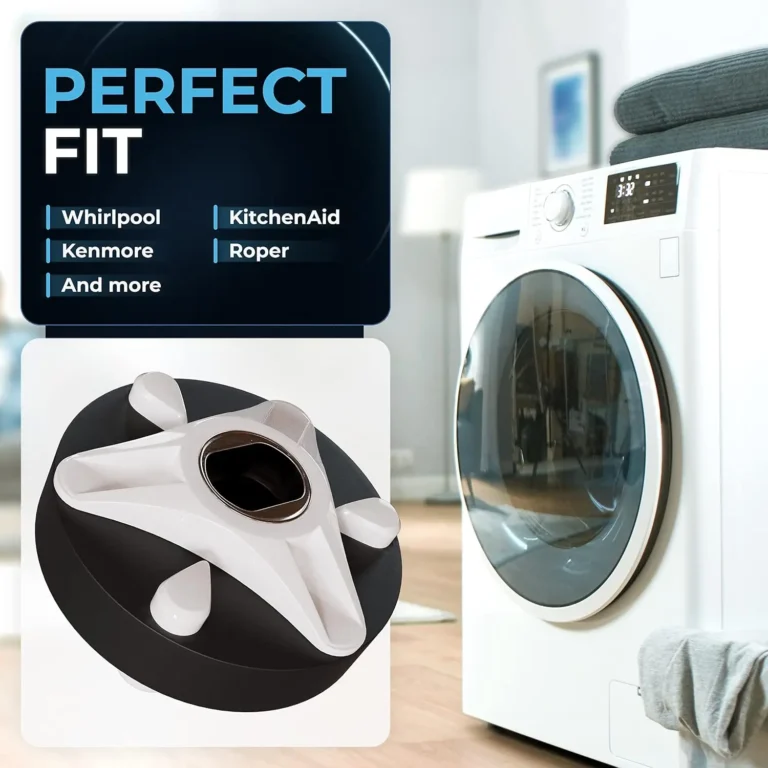
It’s also a good idea to verify your washer’s model number to ensure compatibility with the 285753A part. You can find the model number on a sticker inside the washer lid or on the back of the machine.
Step-by-Step Replacement Guide
Follow these steps to replace the motor coupling in your Whirlpool or Kenmore washer:
Step 1: Accessing the Washer’s Internals
- Remove the control panel: Locate the two screws at the back or front of the control panel and unscrew them using a Phillips screwdriver. Gently lift the panel and set it aside.
- Release the retaining clips: Find the two retaining clips that hold the washer’s body to the frame (one on each side). Use a flathead screwdriver to release them.
- Lift the washer’s body: With the clips released, lift the body from the front and tilt it back to a 45° angle. You may need to support it with your foot or have someone assist you.
Step 2: Removing the Old Coupling
- Detach the pump: The pump is attached to the motor with two clips. Use a flathead screwdriver to pry off these clips and swing the pump aside.
- Disconnect the motor: Unplug the motor’s electrical connector. Then, remove the two screws or clips securing the motor to the frame using a 1/4-inch nut driver or socket.
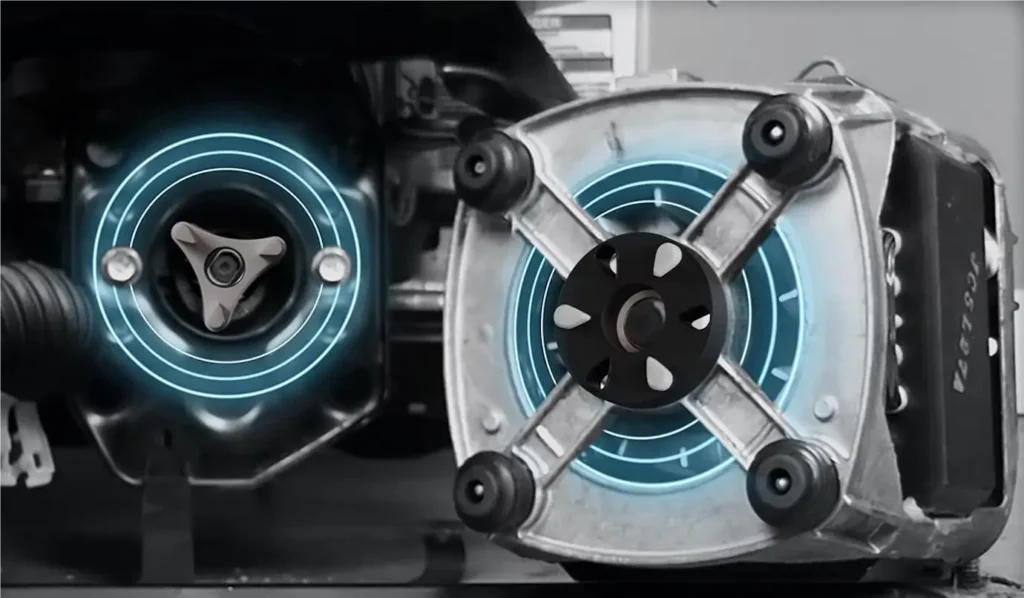
- Remove the old coupling: The old coupling consists of two plastic pieces connected by a rubber isolator. Use a hammer to gently tap the coupling off the motor shaft. Then, use a flathead screwdriver to pry it off the transmission shaft.
Tip: If the coupling is stuck, try using a bit of lubricant or gently prying with a screwdriver. Be careful not to damage the motor or transmission shafts.
Step 3: Installing the New Coupling
- Clean the shafts: Before installing the new coupling, make sure to clean any debris or broken pieces from the old coupling off the motor and transmission shafts.
- Install the new coupling: Take the new 285753A coupling and align it with the motor shaft, ensuring the flats on the shaft match the shape of the coupling. Tap it onto the shaft with a hammer until it’s flush. Repeat this process for the transmission shaft.
- Attach the rubber isolator: Slide the rubber isolator between the two coupling pieces to connect them.
Step 4: Reassembling the Washer
- Reattach the motor: Secure the motor back to the frame with the screws or clips and reconnect the electrical connector.
- Reattach the pump: Align the pump with the motor shaft and secure it with the two clips.
- Lower the washer’s body: Tilt the body back onto the frame, ensuring the lower lip is under the frame. Reattach the retaining clips.
- Reattach the control panel: Secure the control panel with the screws.
Step 5: Testing the Repair
- Plug the washer back in and turn on the water supply.
- Run a short test cycle to ensure the washer agitates and spins properly.
If everything works as expected, congratulations! You’ve successfully repaired your washer.
Tips for a Successful Repair
- Verify your model: Double-check your washer’s model number to ensure the 285753A coupling is compatible.
- Handle with care: When removing the old coupling, be gentle to avoid damaging the motor or transmission shafts.
- Upgrade for durability: Consider using a coupling with a metal core for added strength, especially if you frequently wash heavy loads.
- Refer to resources: If you’re unsure about any step, watch online tutorials or videos for visual guidance. A helpful video can be found:
Troubleshooting
If your washer still doesn’t spin or agitate after replacing the coupling, consider these additional checks:
- Lid switch: A faulty lid switch can prevent the washer from operating. Test it with a multimeter to ensure it has continuity.
- Drive belt: If your model has a drive belt, inspect it for wear or damage.
- Transmission or motor issues: If the problem persists, it might be a more serious issue with the transmission or motor, which may require professional repair.
Remember, the motor coupling is designed to break under excessive load to protect the motor and transmission. If it fails frequently, it could indicate an underlying issue, such as overloading the washer. Always follow the manufacturer’s guidelines for load sizes to prevent premature failure.
Conclusion
Replacing the motor coupling in your Whirlpool or Kenmore washer. is a straightforward and cost-effective way to fix common issues like failure to spin or agitate. With just a few basic tools and about an hour of your time, you can save hundreds of dollars on repairs or a new washer. The part itself costs only $ 3-5, compared to $100-200 for professional repairs or $500+ for a new machine. Remember to always prioritize safety by unplugging the machine and turning off the water supply before starting. Happy repairing!